How to Install WordPress in 2024 – best-performing CMS
How to install WordPress, WordPress is one of the world’s most popular content management systems (CMS), powering millions of websites. Its user-friendly interface and powerful features make it an excellent choice for bloggers, small businesses, and even large corporations. In this guide, we will walk you through the process of installing WordPress, step by step.
Step 1: Choose Your Hosting Provider
Before installing WordPress, you need a place to host your website. There are several hosting providers, including Bluehost, SiteGround, and HostGator. Look for a hosting plan that meets your needs in terms of storage, bandwidth, and additional features.
- Sign Up for a Hosting Plan: Visit the website of your chosen hosting provider and sign up for a hosting plan. Most providers offer a variety of plans, from basic shared hosting to advanced dedicated servers.
- Register a Domain Name: During the signup process, you must also register a domain name (e.g., www.yoursite.com). Some hosting providers offer a free domain name with their hosting plans.
Step 2: Access Your Hosting Control Panel
Once you have signed up for a hosting plan, you will receive login details for your hosting control panel (often called cPanel).
- Log In to cPanel: Use the login credentials provided by your hosting provider to access your cPanel.
- Find the WordPress Installer: Most hosting providers include a one-click installer for WordPress. Look for icons like “WordPress,” “Softaculous,” or “Fantastico” in your cPanel.
Step 3: Install WordPress Using cPanel
Using the one-click installer is the easiest way to install WordPress.
- Launch the Installer: Click on the WordPress icon or the one-click installer link.
- Choose the Installation URL: Select the domain name where you want to install WordPress. If you want to install it in a subdirectory (e.g., , specify the directory name.
- Fill Out Site Information: You will be asked to provide some basic information about your site, including the site name, description, admin username, and password. Choose a strong password to secure your site.
- Select Language and Settings: Choose your preferred language and review the additional settings. Some installers may offer options for plugins or themes to be installed alongside WordPress.
- Run the Installation: Click the “Install” button to start the installation process. This may take a few minutes.
Step 4: Configure Your WordPress Site
After the installation is complete, you can start configuring your WordPress site.
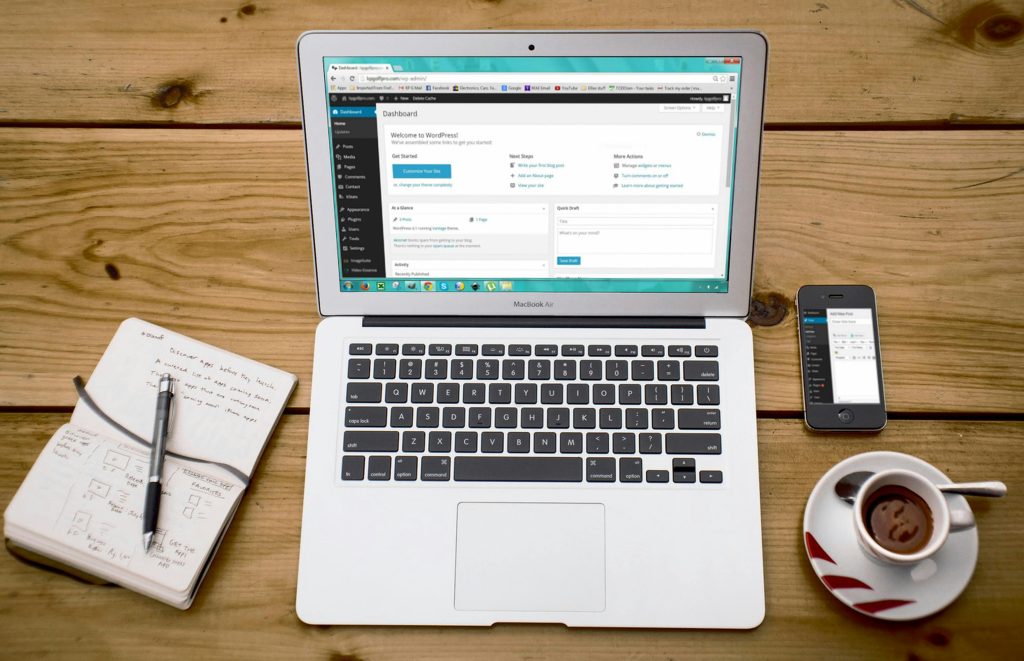
- Access the WordPress Dashboard: Log in to your WordPress admin panel by visiting . Use the admin username and password you created during the installation.
- Choose a Theme: WordPress comes with several pre-installed themes, but you can also browse and install new themes by navigating to Appearance > Themes > Add New. Choose a theme that fits your site’s purpose and design preferences.
- Install Essential Plugins: Plugins extend the functionality of your WordPress site. Some essential plugins to consider include:
- Yoast SEO: For search engine optimization.
- Akismet: For spam protection.
- Jetpack: For security, performance, and marketing tools.
- Contact Form 7: For creating contact forms.

Step 5: Customize Your Site
Now that your basic setup is complete, it’s time to customize your site.
- Configure Site Settings: Go to Settings > General to set your site title, tagline, timezone, and other general settings.
- Set Up Permalinks: Navigate to Settings > Permalinks to configure how your URLs will look. The “Post name” option is a common choice for SEO-friendly URLs.
- Create Essential Pages: Create important pages like Home, About, Contact, and Privacy Policy by going to Pages > Add New.
- Customize Your Theme: Use the Customizer (Appearance > Customize) to make adjustments to your theme, such as changing colors, fonts, and layout options.
- Add Widgets and Menus: Add widgets to your sidebar and footer areas by going to Appearance > Widgets. Create and manage menus by navigating to Appearance > Menus.
Step 6: Secure Your WordPress Site
Security is crucial for any website. Here are some steps to enhance your WordPress site’s security:
- Update Regularly: Always keep WordPress, themes, and plugins updated to the latest versions.
- Use Strong Passwords: Ensure all user accounts have strong passwords.
- Install a Security Plugin: Consider using security plugins like Wordfence or Sucuri to add an extra layer of protection.
- Backup Your Site: Regularly back up your site using plugins like UpdraftPlus or BackupBuddy.
Step 7: Optimize for Performance
A fast-loading website is essential for user experience and SEO.
- Use a Caching Plugin: Plugins like W3 Total Cache or WP Super Cache can significantly improve your site’s speed by caching static files.
- Optimize Images: Use plugins like Smush or ShortPixel to compress and optimize your images without losing quality.
- Enable a Content Delivery Network (CDN): A CDN can distribute your site’s static files across multiple servers worldwide, reducing load times for visitors.
Step 8: Launch Your Site
Once you’re satisfied with your site’s setup and customization, it’s time to launch.
- Review Your Site: Check all pages, links, and functionalities to ensure everything is working correctly.
- Promote Your Site: Share your new website on social media, and consider using email marketing to reach your audience.
Conclusion
Installing WordPress is a straightforward process that anyone can do with a little guidance. By following this step-by-step guide, you can set up and customize your own WordPress site, secure it, and optimize it for performance. With your new site up and running, you can focus on creating content and building your online presence. Happy blogging!

2 thoughts on “How to Install WordPress in 2024 – best-performing CMS”
Pingback: what is website optimization ? worpress site optimization
good